Nine steps for planting a fall container
Are your containers of annuals looking ratty now? That’s because, as a TV garden guru once declaimed, “THEY WANT TO DIE.” It’s hard tossing our summer friends in the yard waste bag, but after that’s done, you can move on to planting a new autumn container.

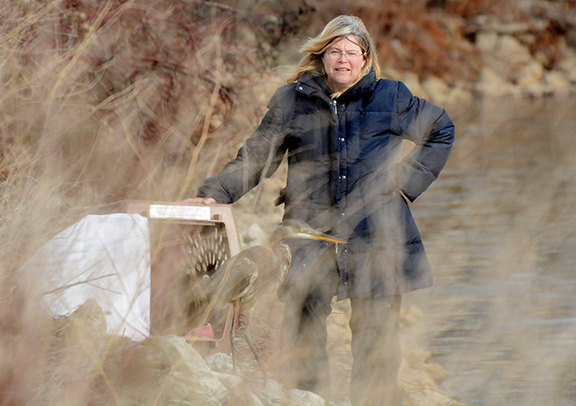
Paul Zammit, director of horticulture at the Toronto Botanical Garden, demonstrates container planting.
PHOTO: Mary Fran McQuade
Paul Zammit, director of horticulture at the Toronto Botanical Garden, told us how at the TBG’s recent Harvest Festival. Paul’s a die-hard gardener who firmly says, “We do not put the garden to bed now!”
Like that battery bunny, he keeps going and going and going.
Here are the steps he took us through for building our fall containers:
1. Make sure your container has drainage holes. If it doesn’t, plant in an old black nursery pot and hide it in your lovely un-holey container.
2. Pre-moisten whatever potting mix you’re using and don’t completely fill the container with it. Leave enough room for the plants to sit on top of the soil mix with the top of their root balls about 3 cm below the rim of the container.
3. Forget spacing – use lots of plants. They don’t have time to grow much bigger, after all, and you want a sense of fullness in harvest season.
4. Choose a colour theme. Paul used tan and brown with silver, but you could try gold, brown and green, or burgundy, gold and green. If you’re stuck, just look at the trees for colour combos.
5. Get your plants. Skip anything tender or tropical – they’ll be a soggy mess after the first light frost. Paul’s selection included carex (something like an ornamental grass), perennial heuchera, golden sage, asparagus fern (tender, but turns soft gold in colder weather), golden sage and a fat kale plant (which he cut into several smaller plants). He also stuck in a couple of English ivies, which you may be able to dig out of your own garden. Or substitute some of that invasive vinca (AKA creeping myrtle or periwinkle) that creeps into everything.
6. The plants will probably be root bound. Pre-moisten them (you may want to soak them in a bucket overnight), then squeeze each plant’s pot before you slip the roots out. Next, “massage the roots,” Paul says, to loosen them up a bit.
7. Now jam those plants in tightly. Start with the tallest, set slightly off centre. “Don’t put it in the middle, surrounded by doughnuts of plants,” cautions Paul. You want to make an interesting arrangement, not a static still life. Clumps of colour, separated by greenery, is the idea. Stick to your colour scheme, though, and use variations of texture for interest. Fill in with soil as you go along.
8. Finishing touches: add a decorative trellis or tripod and weave the dangling bits of ivy into it. Or weave them around the other plants for more filler. Poke interesting branches or dried stems into the container to add drama. (Corkscrew hazel or spray-painted twig clumps work well.) Tuck some tiny gourds or mini-pumpkins in as accents. Go easy, though – it’s a fall container, not a Christmas tree.
9. As a final step, add water to settle the live plants in, along with soil to fill any gaps. Paul reminds us to keep watering your container right up to the first hard freeze. Then it’s time to update it for Christmas or New Year’s!
Mary Fran McQuade is a hobby gardener and freelance writer.